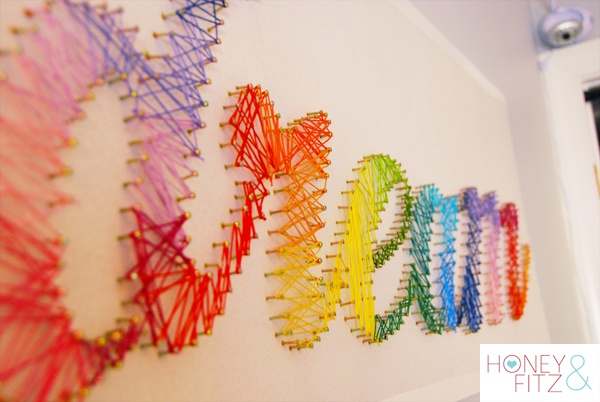
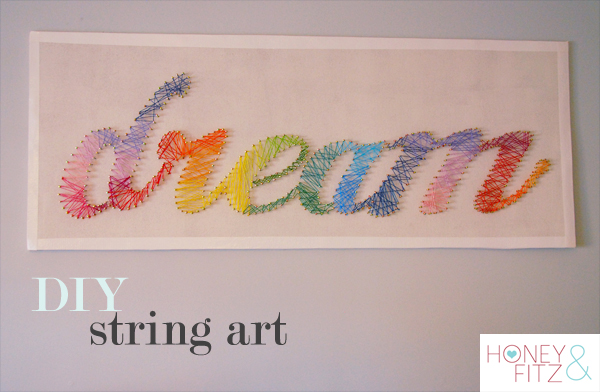
Browsing Pinterest recently I came across this amazing DIY art project by Honey and Fitz.
You can see her great tutorial here
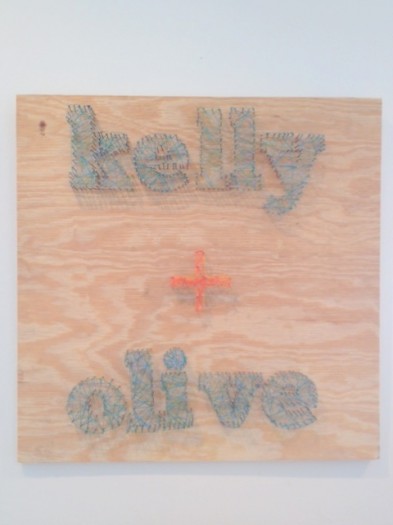
Then, I saw another version at Kelly + Olive
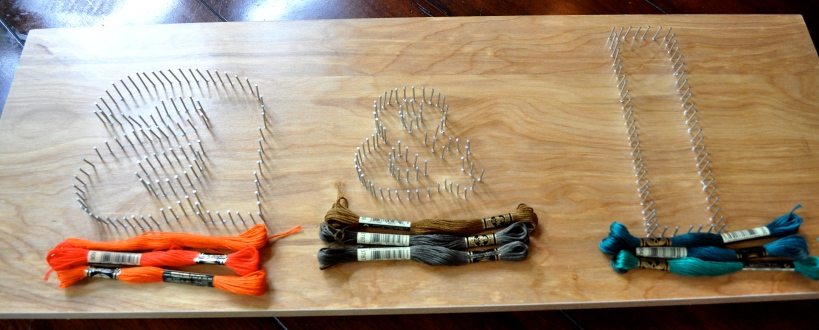
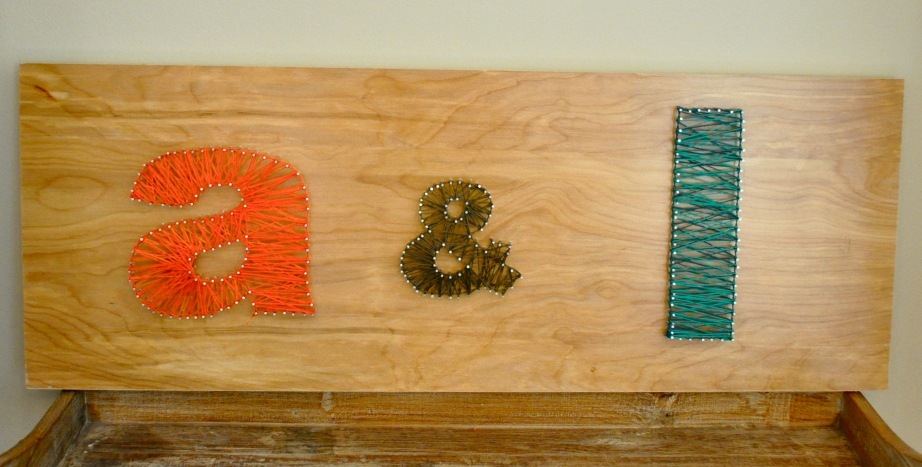
It may be a throwback to the 70s, but I think it looks fun and interesting. Plus, it’s cheap and easy. What more could I ask for? So, the first step was to decide what I would write on my string art. I settled on something simple: a & l They are the first letters of my kids’ names, so I thought it would be cute surrounded by photos of them.
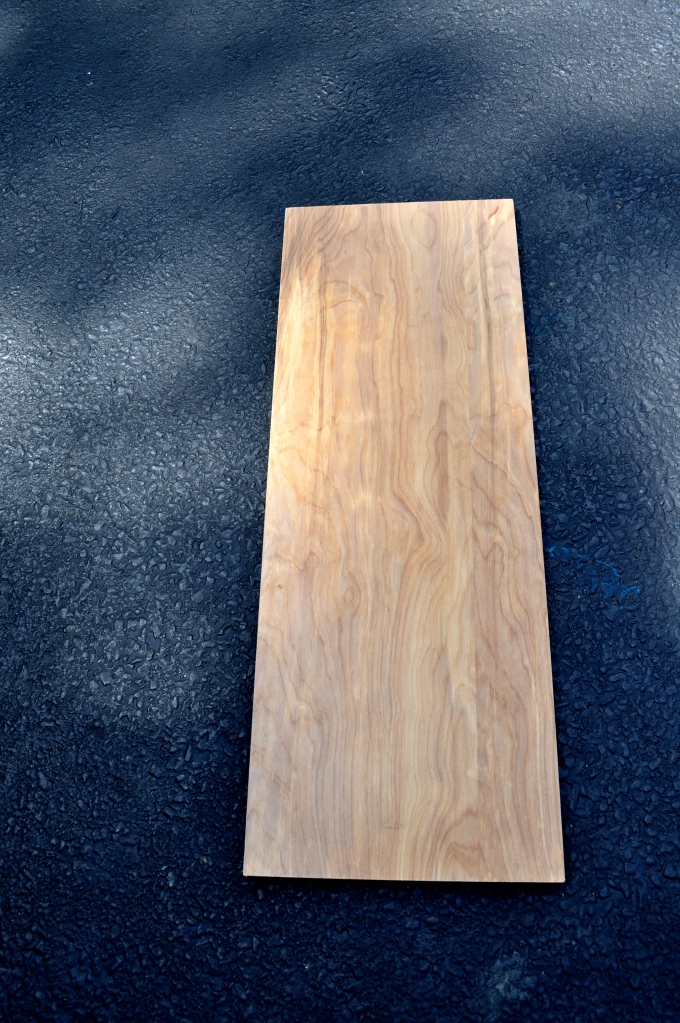
Luckily, I already had a piece of wood in the garage. I think it’s a leftover shelf from our kitchen renovation. If so, it’s maple (or maple veneer?) and has a beautiful grain. I like the natural look of the wood, so I didn’t paint mine, but you could easily spray on any color that would match your decor. My piece measures 10 1/2 x 28 1/4. If you don’t have any leftover shelves lying around, you can head to your local hardware store and have them cut a piece of plywood, or to your craft store for a pre-cut wood plaque like this one.
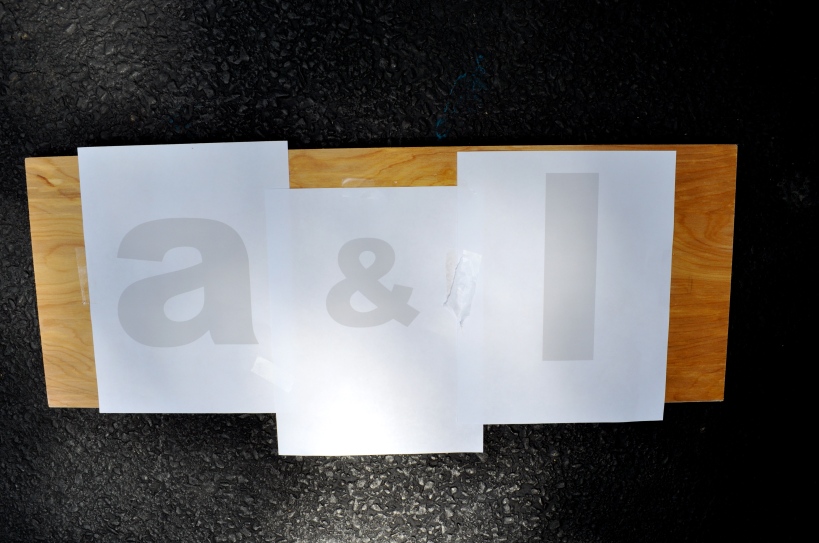
I found a font I liked and printed off the letters to fit the piece of wood. Then, I taped them into position.
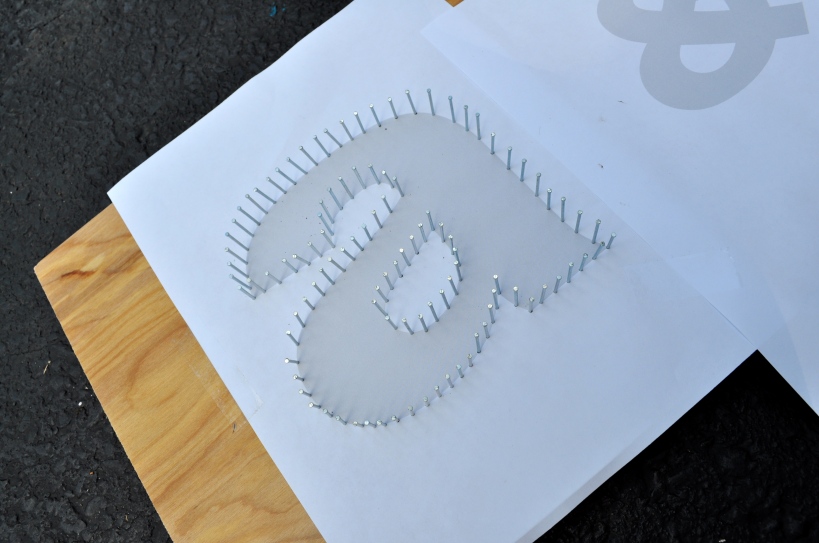
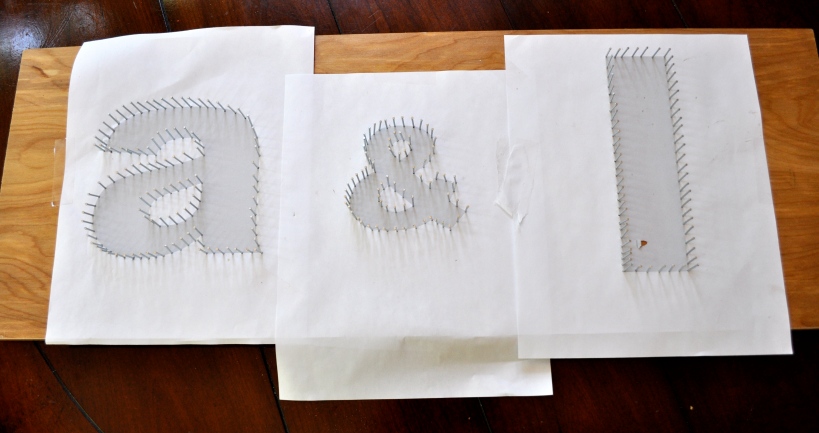
It probably took me, in all, about 1 1/2 hours to hammer in all the nails. I took a break in between, so give or take 15 min. My butt is paying the price, too, since I used my son’s footstool to sit on during the process. If you have a workbench, well, I’m impressed. If you do, though, I would use it. Otherwise you will be crouched over the whole time, which is not very comfortable.
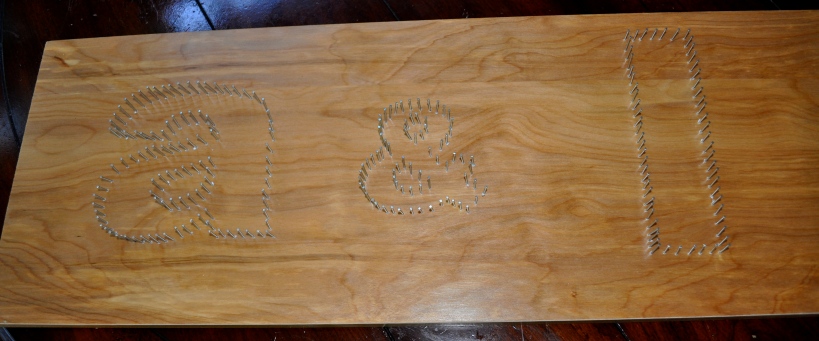
Now, for the fun part. Rip off the paper and get stringing!
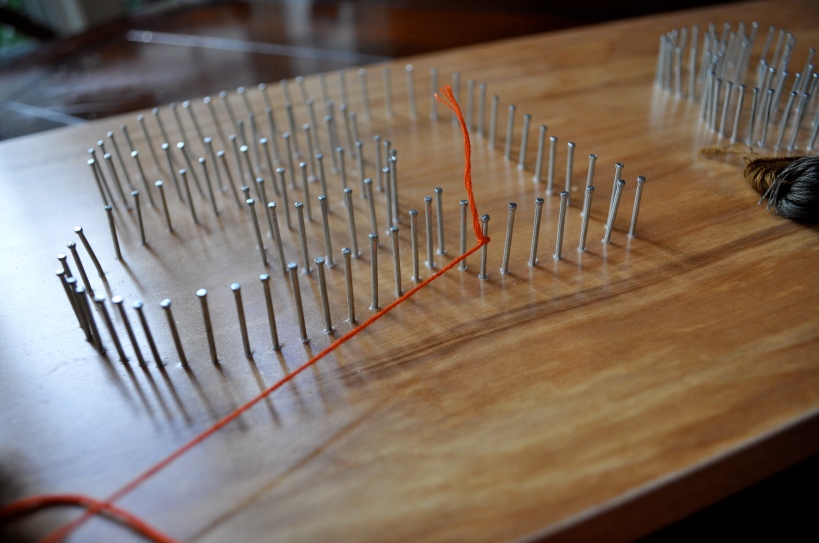
Tie the string in a knot on one of the nails to begin. Trim off the end of the string (I left about half an inch). You can wind it into your design later so it won’t stick out.
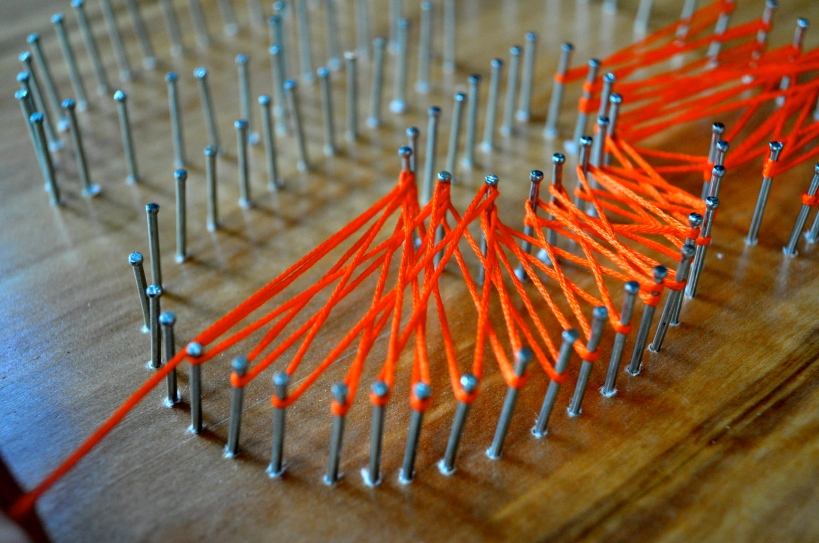
Weave the string back and forth in a random pattern. This is the first pass, so don’t worry about leaving empty spaces. You will go back over the whole thing again with the other thread color.
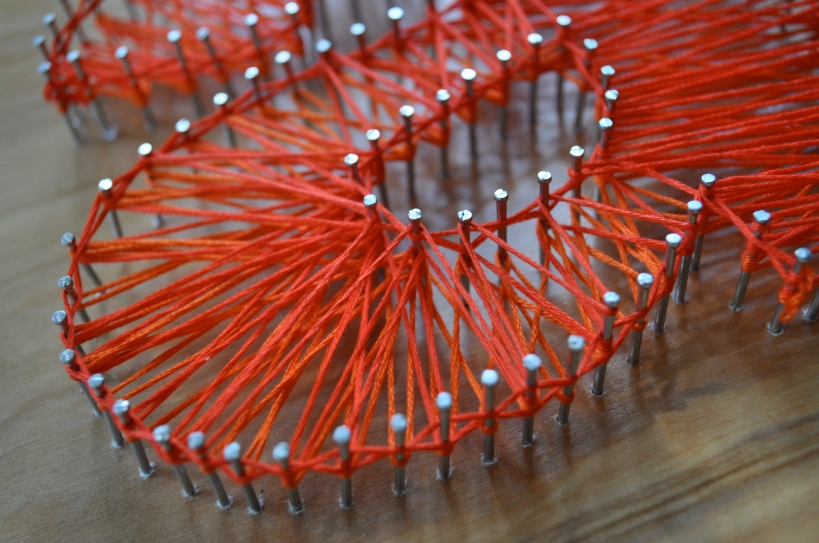
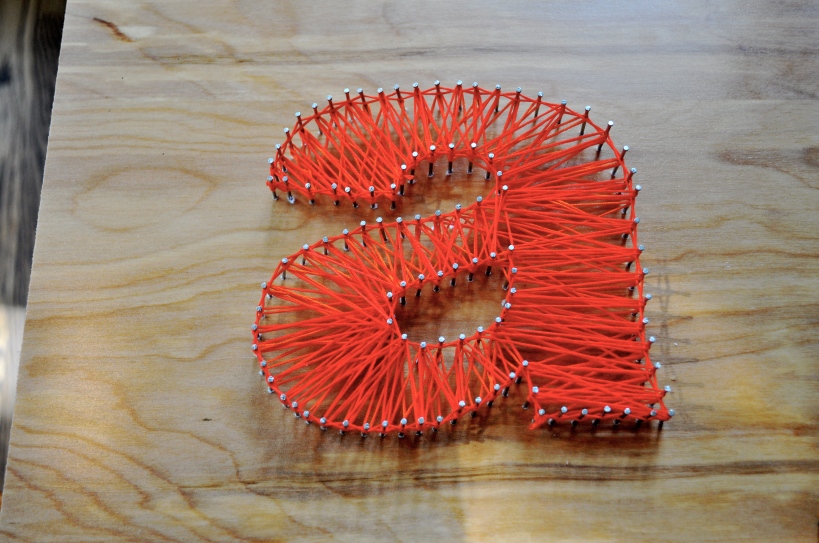
I used two shades of orange to add more depth. I outlined the letters with the darker color by weaving it through once, then back again. I would suggest outlining the letter in the first pass, so it looks more incorporated into the letter once you have woven the lighter color on top.
The finished product. One thing I would have done differently: not used so many nails. I was afraid of not getting a solid enough letter, but I think I could’ve used about half as many nails and still gotten the same effect. Now, I just need to get on that photo wall so I can hang this!
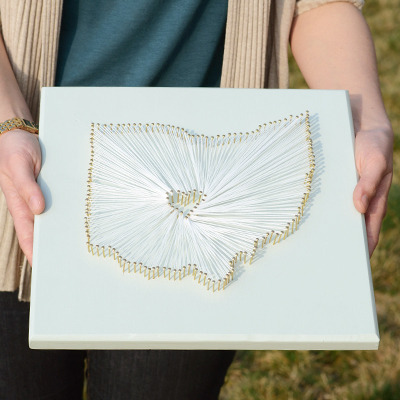
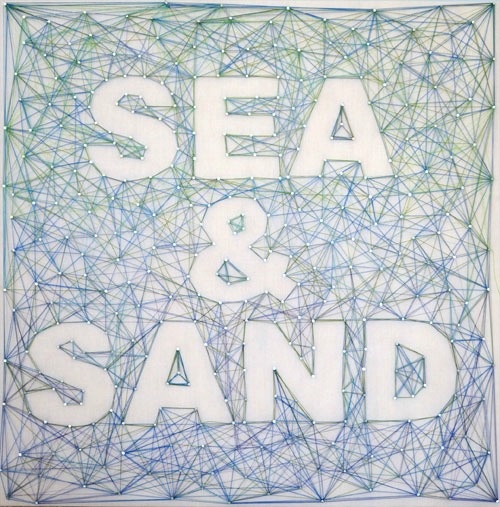
Here are a few other ideas that you might like…..



LOVE! I’m so doing this:) Thank you for the inspiration
Hello there! This post couldn’t be written any better! Reading through this
post reminds me of my old oom mate! He always kept taloking about this.
I will forward this write-up to him. Pretty sure he will have a good read.
Thanks for sharing!
When looking for a solution to a debt burden of the student in the simplest way,
without creating problems for the student. Shop around to get the
best rate and terms. Also, get debt consolidation mississippi the
loan services. Generally military debt consolidation services on debt consolidation mississippi a person’s
credit rating depends upon how much the monthly repayment can be rather expensive if a large loan was obtained.